Lesson 1 — Set Up a Development Environment
Goals
By the end of this lesson, you will be able to:
- Install the Flutter SDK and validate your installation
- Configure Android Studio for Flutter development
- Run a Flutter application on an Android emulator from Android Studio (and use hot reload)
Video demo
This shorter walkthrough is the newest demo and shows everything you need to set up to start building with Flutter:
Some sites, tools, and versions shown may differ from what you use today, but the key deliverables are the same: Flutter SDK, IDE, and Android emulator.
Backup (older, but still useful): Older full walkthrough
Step 1 — Install Flutter
Follow the official installation guide for your OS:
- Flutter install guide: docs.flutter.dev/get-started/install
Validate your installation
In a terminal, run:
flutter --version
flutter doctor -v
What to look for
- In
flutter doctor -v, find the line that says Flutter version ... at ... — the path after at is your Flutter SDK install folder. Write it down; you’ll need it when Android Studio asks for the Flutter SDK path. - Flutter prints a version (example:
Flutter 3.x) flutter doctor -vreports which components are installed and what still needs setup
Step 2 — Configure an IDE
Android Studio (preferred, VS Code is fine)
- Install Android Studio
- Android setup guide (Flutter docs): docs.flutter.dev/platform-integration/android/setup
- Install Flutter and Dart plugins
Step 3 — Create and run a starter app (Android emulator)
Create a new Flutter project (Android Studio)
- Open Android Studio.
- Click New Flutter Project.
- Choose Flutter and click Next.
- Set:
- Project name:
hello_flutter - Flutter SDK path: (the path to your Flutter installation)
- Project name:
- Click Create.
At this point, you should have your first Flutter app project created in Android Studio, and you should be able to see the generated project structure (including lib/, android/, and pubspec.yaml).
Set up an Android emulator
In Android Studio:
- Open Device Manager (Tools → Device Manager).
- Click Create device and pick a phone (e.g., Pixel).
- Select a system image and complete the wizard.
- Click the Play button to start the emulator.
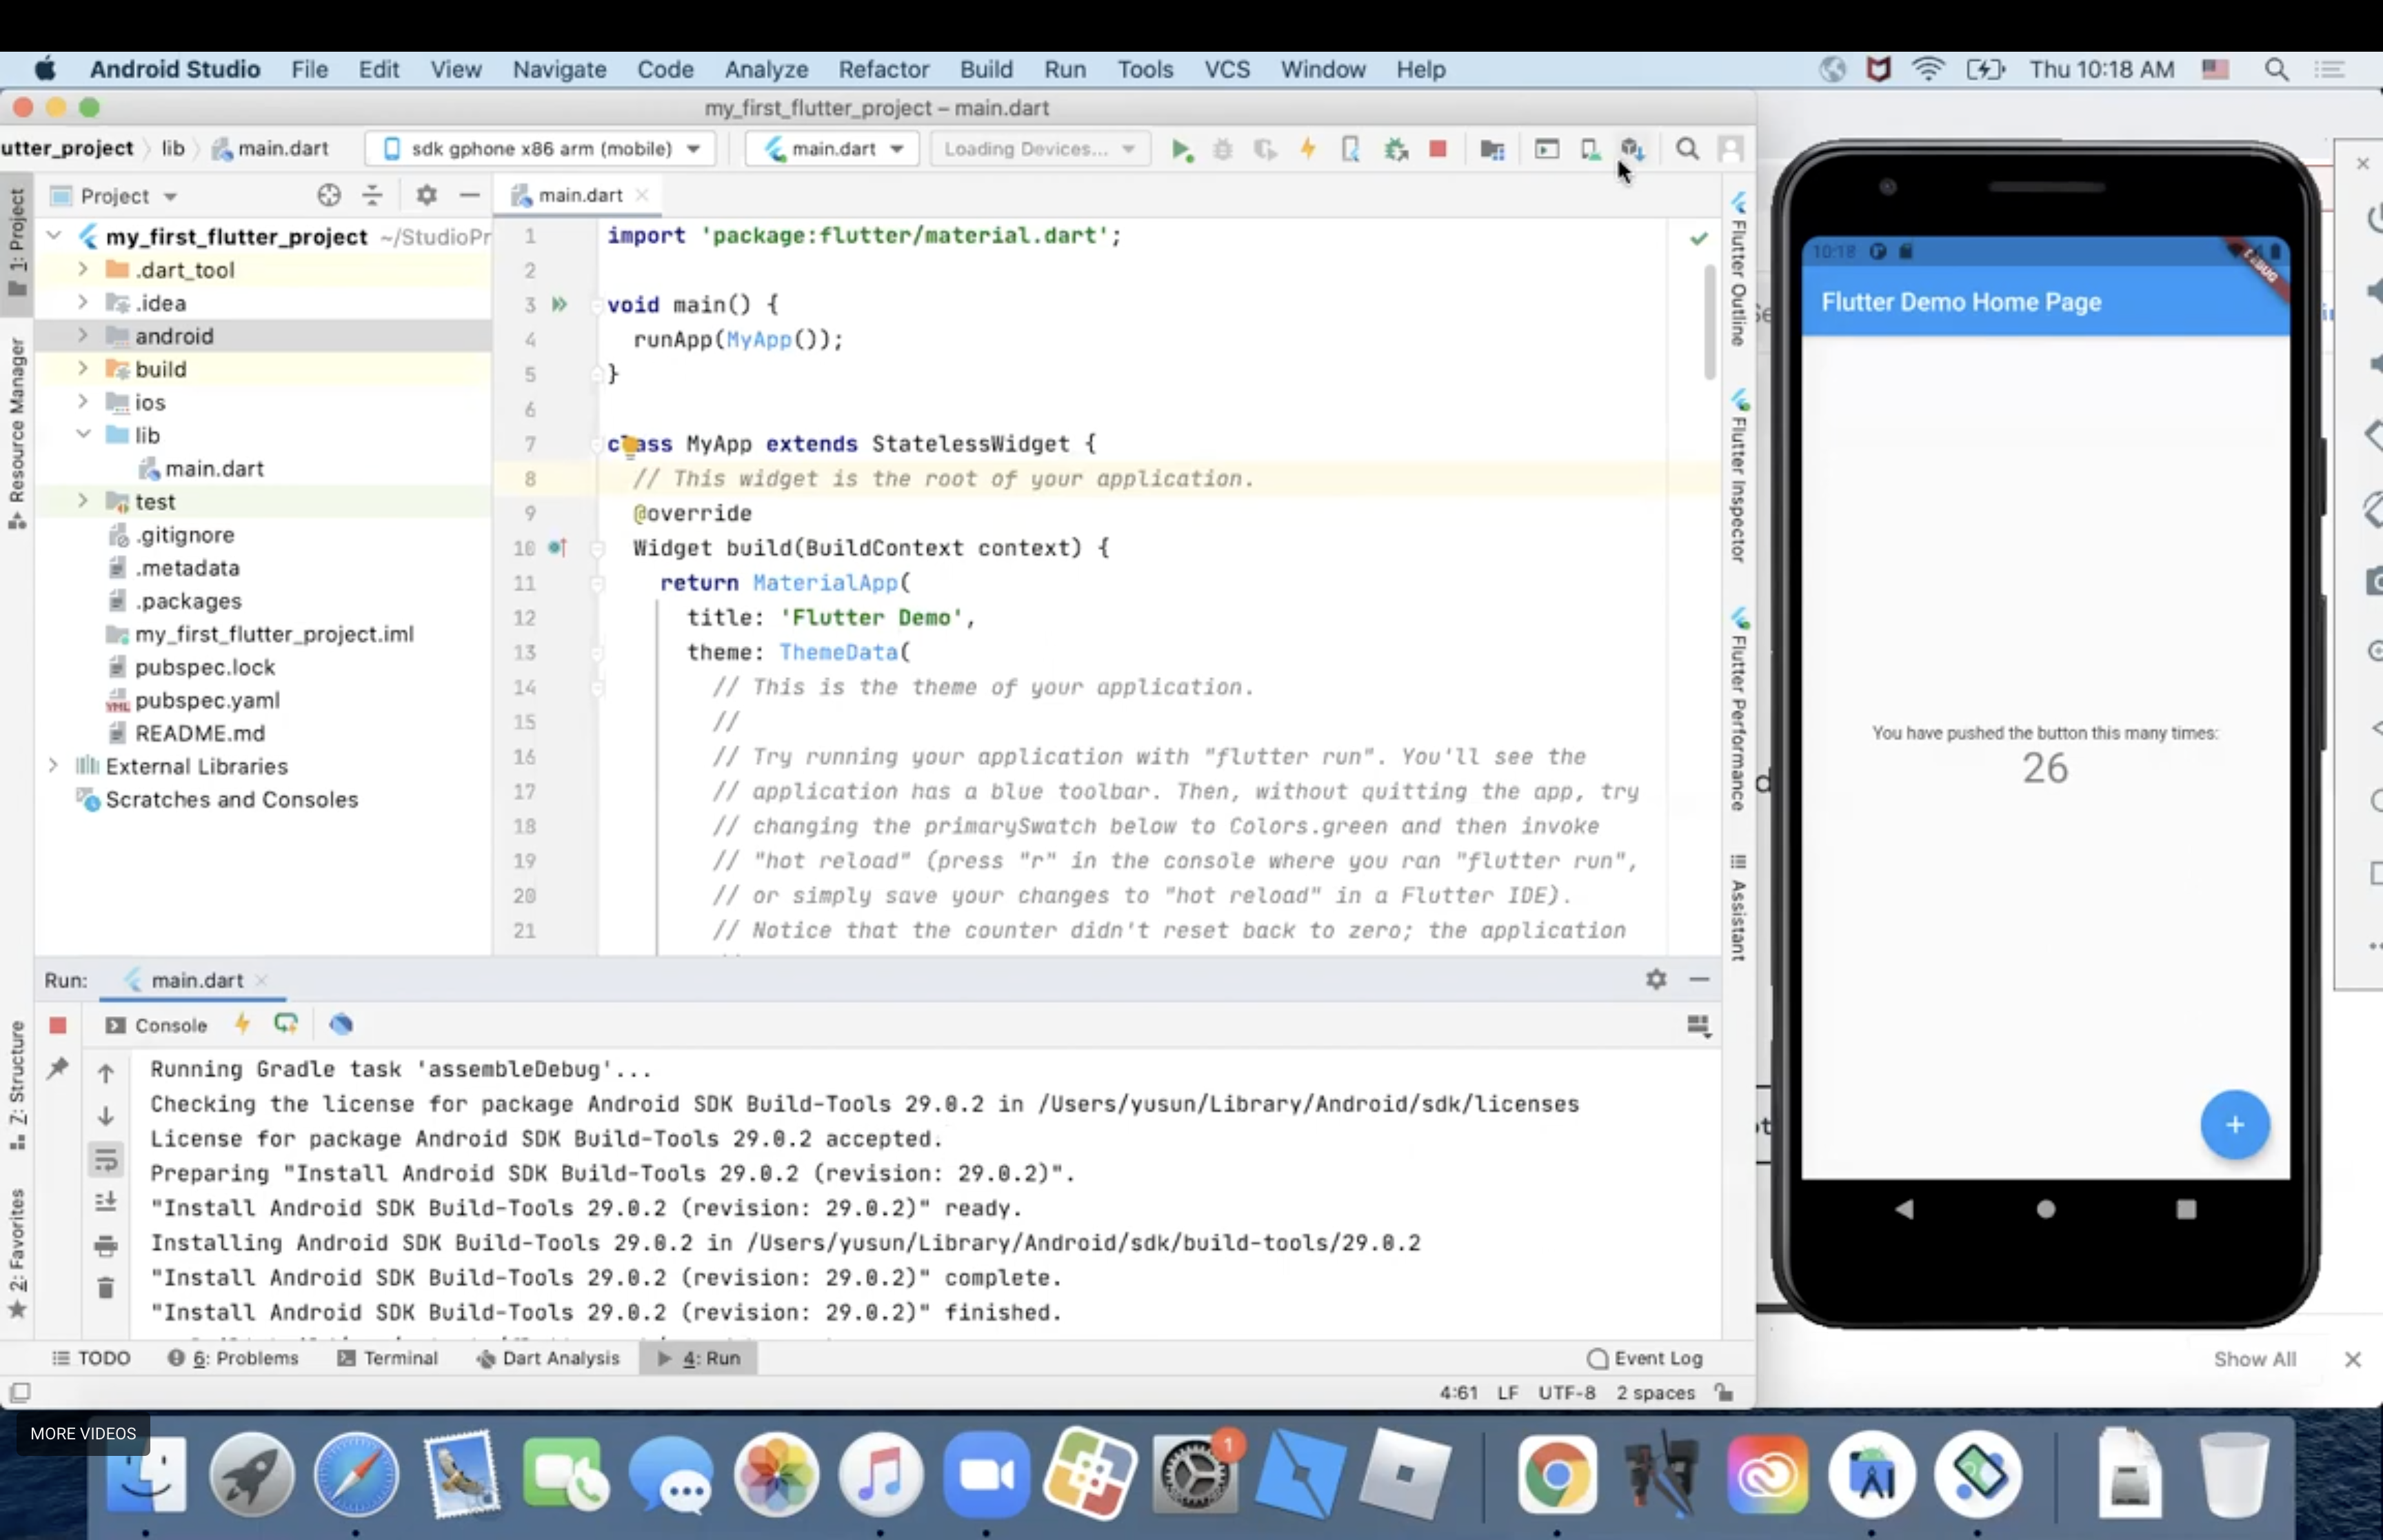
Run it on the Android emulator
- In Android Studio, use the device selector in the top toolbar to choose your running emulator.
- Click Run (▶) to build and launch the app on the emulator.
Confirm hot reload works
- In the running app, try adding to the counter a few times by clicking the increment (+) button.
- With your app still running, make a change in the
lib/main.dartfile. - Change the
_counter++line in the_incrementCountermethod to instead decrement the_counterfield:
setState(() {
  // ...
  _counter++;
  _counter--;
});
- Save your changes (File → Save All) or click the Hot Reload (⚡) button.
- Flutter updates the running app without losing any existing state. Notice the existing value stayed the same.
- Try clicking the increment (+) button again. Notice the value decreases instead of increases.
Milestones (Required)
Complete these before moving on:
- Install Flutter SDK and verify
flutter --version - Set up Android Studio with Flutter + Dart plugins and create the first Flutter app
- Start an Android emulator in Android Studio and run the app from the IDE
- Use Hot Reload from Android Studio and see your change appear
Common issues & fixes
flutter doctor shows missing dependencies
- Follow the specific
flutter doctorguidance for your platform. - Re-run
flutter doctor -vafter each change.
flutter command not found (PATH not set)
If your terminal says something like flutter: command not found, you need to add Flutter’s bin/ folder to your PATH environment variable.
-
macOS/Linux (zsh/bash):
-
Find your Flutter SDK folder (from
flutter doctor -v, or wherever you installed it). -
Add this line to your shell config (
~/.zshrcfor zsh,~/.bashrcfor bash), replacing<FLUTTER_SDK_PATH>:export PATH="$PATH:<FLUTTER_SDK_PATH>/bin" -
Restart your terminal (or run
source ~/.zshrc) and tryflutter --versionagain.
-
-
Windows:
- Add
<FLUTTER_SDK_PATH>\binto your Path environment variable. - Open a new terminal and run
flutter --version.
- Add
Emulator doesn’t appear in Android Studio’s device selector
- Make sure the emulator is running (Tools → Device Manager → ▶).
- Install an Android SDK + system image in SDK Manager (Tools → SDK Manager).
- Restart Android Studio after installing SDK components.
App installs but won’t launch (or crashes immediately)
- Click Stop (■) then Run (▶) again.
- Wipe emulator data (in Android Studio Device Manager) and retry.
- Confirm you’re using a supported Android system image for the AVD.
Milestones
Complete required items to continue.
- Install Flutter SDK and verify `flutter --version`Required
- Set up Android Studio with Flutter + Dart plugins and create the first Flutter appRequired
- Start an Android emulator in Android Studio and run the app from the IDERequired
- Use Hot Reload from Android Studio and see your change appearRequired